6 Everyday Items You Can Use to Frost a Cake
Even without specialty tools, these common household items can help you achieve professional-looking results:
- Butter Knife: A butter knife can work just as well as an offset spatula or palette knife. Use the straight edge to apply frosting to the top and sides of your cake with smooth, even strokes.
- Cardboard & Parchment Paper: If you don’t have a cake stand, a clean piece of cardboard covered in parchment paper is a great alternative. The flat surface makes frosting, cutting, and serving much easier.
- Rubber Spatula: This tool is perfect for spreading frosting with a gentle, smooth touch. Wipe the spatula clean between applications for an even finish.
- Serrated Knife: Use a serrated knife to level the tops of your cakes, creating a flat surface for easy stacking and decorating.
- Teaspoon: In a pinch, a teaspoon can be used to frost your cake or add decorative touches. Use the back of the spoon to create swirls or textured patterns.
- Ziploc Bag: No piping bag? No problem! Fill a Ziploc bag with frosting, snip a small corner, and you’ve got a DIY piping bag for impressive designs.
Follow these steps to turn your cake and frosting into a stunning dessert:
- Cool the Cake: Allow your baked cake to cool completely to room temperature. Frosting a warm cake can cause the frosting to melt and slide off.
- Use Room Temperature Frosting: Cold frosting can be difficult to spread. Bring your frosting to room temperature for easier and smoother application.
- Level the Top (Optional): If desired, use a serrated knife to gently level the top of the cake for a flat surface. This makes stacking layers easier and gives a more professional finish.
- Prepare for Frosting: Place the cooled cake on your makeshift cardboard “cake stand.” Line the edges with overlapping strips of parchment paper, leaving a small space in the center for the cake. This helps keep the cardboard clean during frosting.
- Stack the Layers (If Applicable): For layer cakes, place the bottom layer on the cardboard. Add a generous layer of frosting or filling, then stack the next layer, aligning the edges carefully.
- Apply the Crumb Coat: This is a thin layer of frosting that seals in crumbs and provides a smooth base for your final layer. Use a butter knife or spatula to apply the crumb coat, being careful not to disturb the cake itself. Chill the cake for 30 minutes to set the crumb coat.
- Frost the Cake: Spoon a generous dollop of frosting onto the top of the cake. Use a butter knife or spatula to spread it evenly, working from the center outward. Continue frosting the sides, rotating the cardboard as you go for an even finish.
- Decorate with a Ziploc Bag: Fill a Ziploc bag with frosting, snip a small corner, and pipe swirls, lines, or other designs onto the cake. Get creative with your patterns!
- Create Patterns with a Teaspoon: Use the back of a teaspoon to create horizontal or vertical stripes, waves, or other decorative patterns by pressing the spoon into the frosting and dragging it around the cake.
- Add Finishing Touches: Complete your cake with sprinkles, fruit, powdered sugar, or other toppings. Carefully remove the parchment paper strips to reveal clean edges, and your cake is ready to enjoy!
Frosting a cake without tools is easier than you might think. With a bit of creativity and the right everyday items, you can achieve a stunning cake that’s sure to impress.
Want to Learn More?
Turn your pastry to success with PastryClass. Enroll new pastry skills, unleash your creativity, boost sales, enhance career opportunities, transition into an instructor role yourself, or simply discover a fresh passion. Learn with Cédric Grolet, Pierre Hermé, Ramon Moratò, Frank Haasnoot and more.
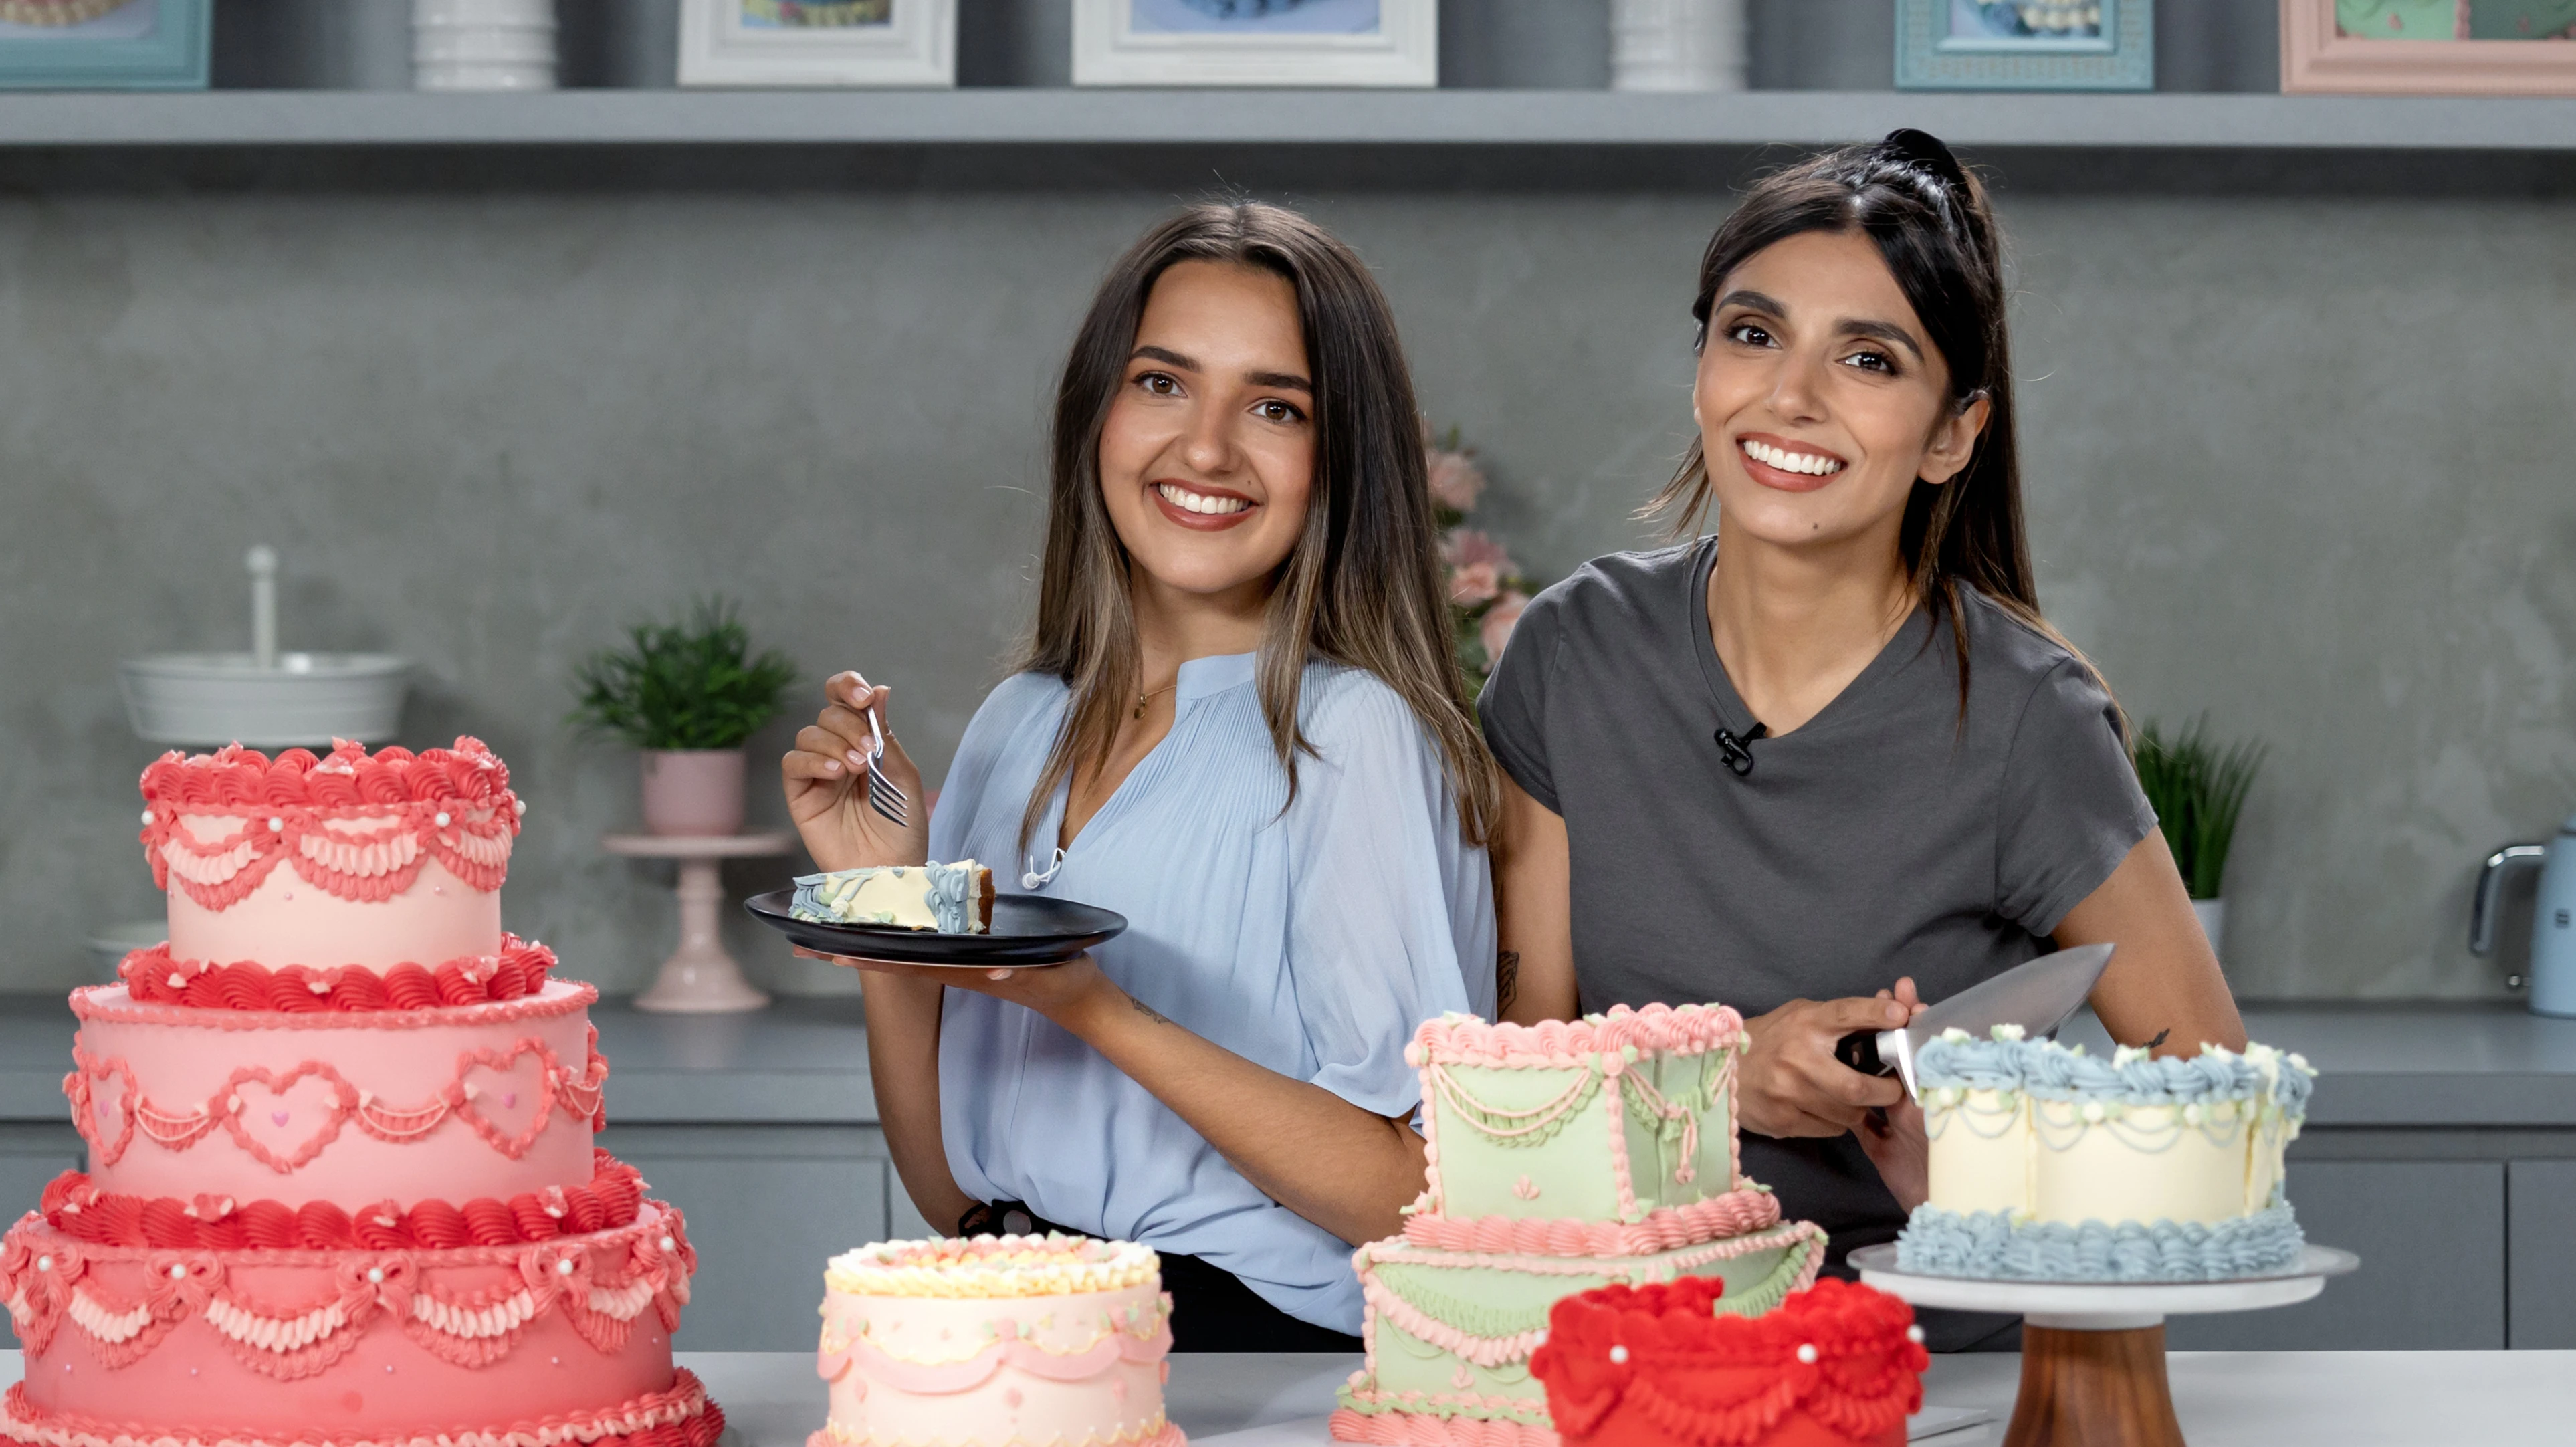
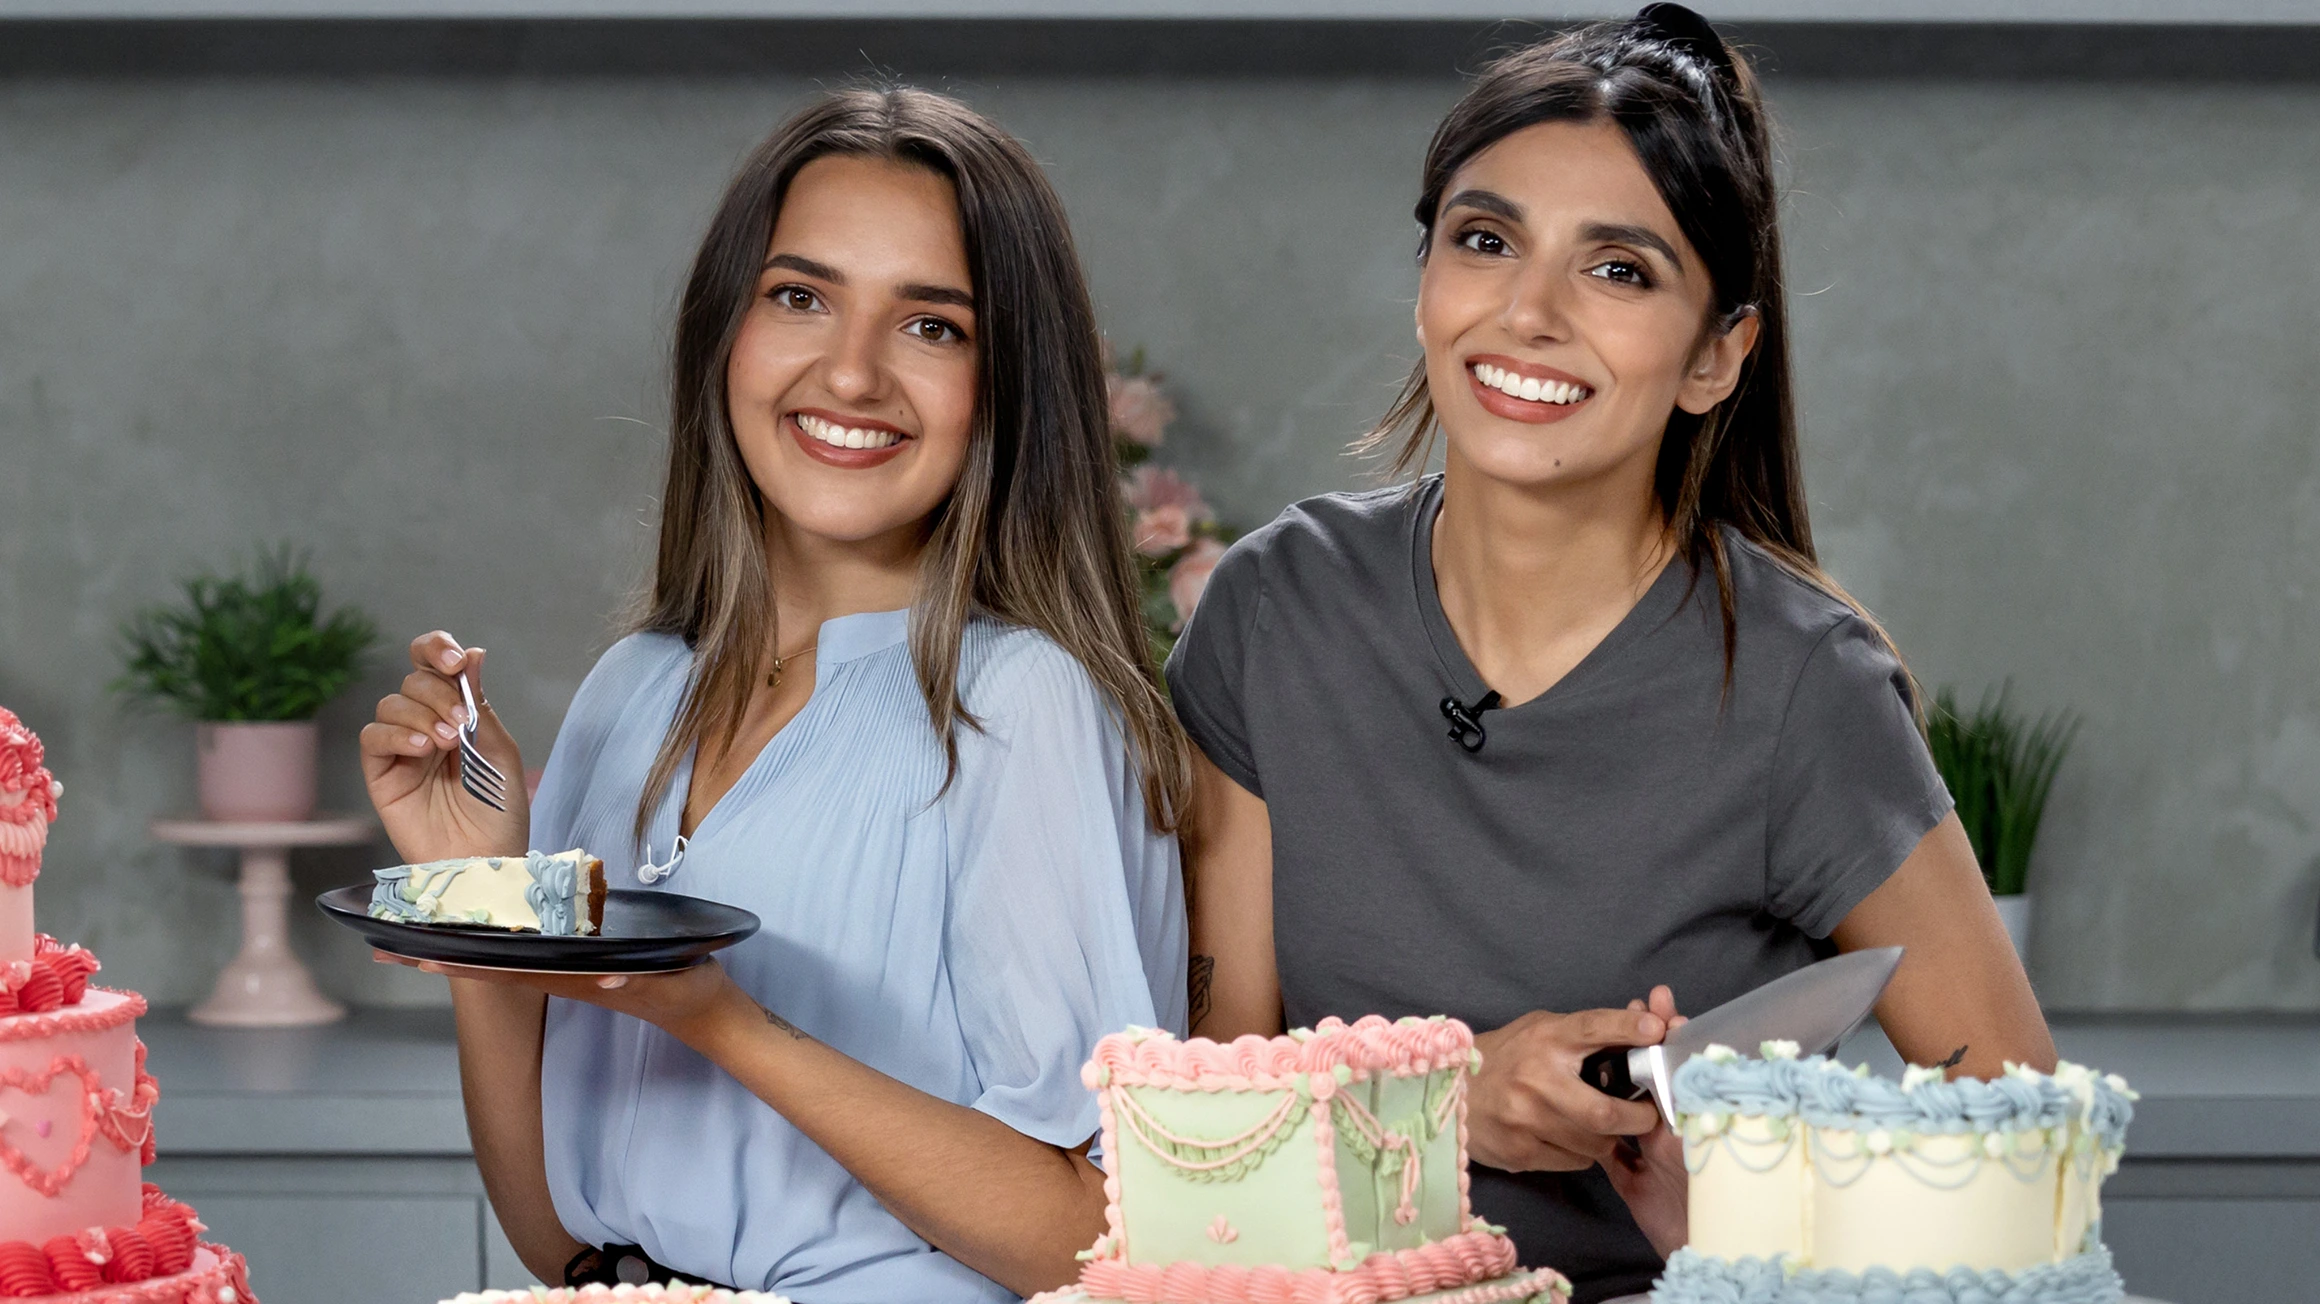
Roxy and Corinne Mankoo Teach Vintage Cakes and Startup Tips
April's Baker, founded by Roxy and Corinne Mankoo, is a viral cake startup that has captured the spotlight on social media, in movies, and on magazine covers. Combining Roxy's professional pastry training with Corinne's management expertise, this class blends creativity, passion, and skill to turn your pastry dreams into reality. For the first time, Roxy reveals her buttercream recipe and covers techniques for stacking, icing, piping, decoration, and creating retro colors. Corinne will guide you through taking orders, pricing, and mastering social media. Whether you're just starting out or looking to enhance your skills, this class is for you!
August 21, 2024 By PastryClass